What to Write About
Before we get into the mechanics of adding content. We want to briefly touch on the importance of what you write about. The first step is to define a topic. Write a short outline of the main points you want to cover. You may also want to do some keyword research on the topic of your post to make sure you mention the phrases that people are looking for. This helps your post rank higher in searches for those phrases.
For example, if you are writing about natural skin care, go to Google and do a search. See the specific phrases that others have searched on that topic. You may wan to touch on these phrases and incorporate the top ones into your post. You may see a niche developing.
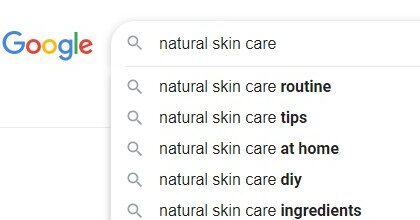
Another good exploration tool is to scroll down on the search results and view the People also ask section. This could provide some ideas on what users are looking for.

Basics of the Block Editor
In this section, we will walk you through the basic features on the add new post screen, and how you can utilize them to create better content. After that we have some video tutorials that take you beyond the basics.
At the top, you will enter your post’s title.
All content elements are wrapped in a block. WordPress comes with blocks for all the common content items including paragraph, columns, and images. You will learn about other blocks like gallery, embeds, shortcodes, widgets, and more in the video tutorials.
Some WordPress plugins may also add their own blocks to add other features like shop products, contact forms, SEO, etc.
We add a block by clicking on the plus sign near the top left or in the page itself.

You can use a keyboard shortcut by typing / to search and add a block.

The Heading Block
The heading block is just that. You want to go from H2 down to H5. H1 is the Title of this post. Think of headings as a way to organize your content. Search engines also look at the text in your headings.
Heading Topic H2
Heading Sub Topic H3
Heading Sub Topic h4
Heading Topic H5
The Paragraph
You can add paragraphs just by starting to type. This is the content paragraph. Lorem ipsum dolor sit amet, consectetur adipiscing elit. Sed fermentum.
This is the text of the content. A paragraph. Lorem ipsum dolor sit amet, consectetur adipiscing elit. Sed fermentum convallis odio.
This is the text of the content. A paragraph. Lorem ipsum dolor sit amet, consectetur adipiscing .
Note that H2, H3, H4, H5, H6 will be smaller relative to the number before it.
Text and Images Side by Side
A popular layout is to place text and image next to each other, then you can use the ‘Media & Text’ block.
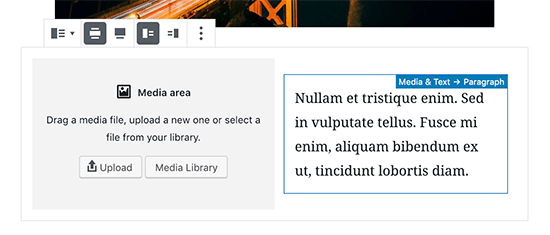
Below we have created a Media & Text block to show you how it might look. You can select any block to view the settings in the right column. We have edited the block’s color background for an attractive effect.
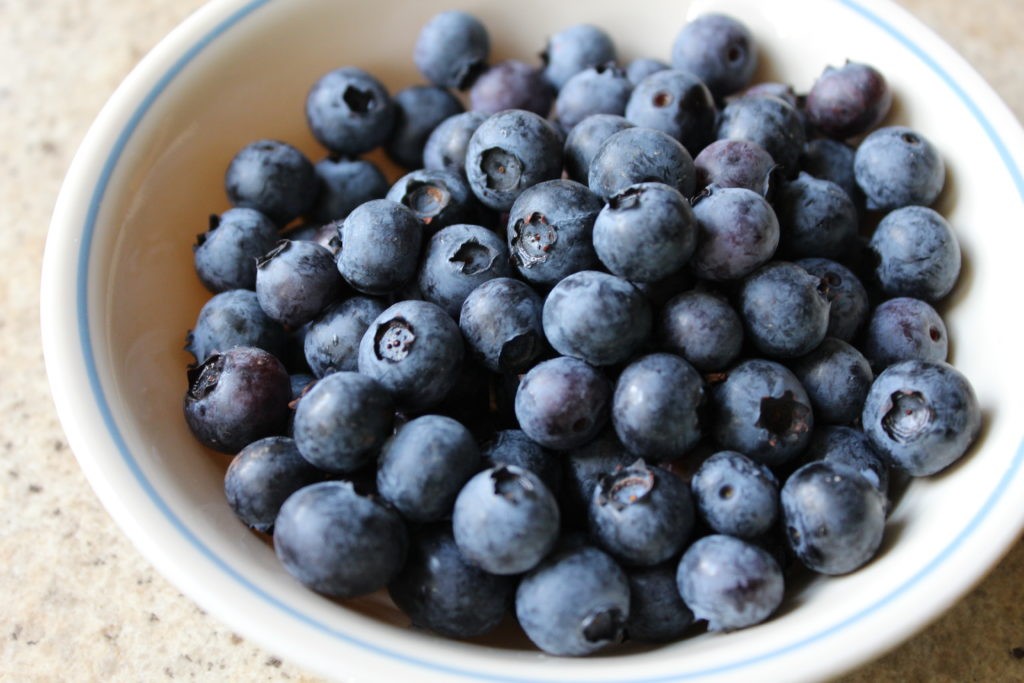
Delicious Blueberries
It is best to keep the heading in this section short. You can add regular sized paragraph below the heading like this or make the entire area a paragraph. Note that this text will not wrap around the image. It will be shown in left and right columns. Brevity is good here.
Adding a Link From an Image
You may want to add a link from your image to take the visitor somewhere else when they click the image. Click on the image once to select it. You should see the block tools. Select the Insert Link.

To link to another page on your site. Click into the space and start typing the title, then select the right page. You can link to other posts, pages, products or other content on your site. In the example below, I am linking to the contact page. You can also paste the URL (web address) of the link or file.

Adding Featured Image
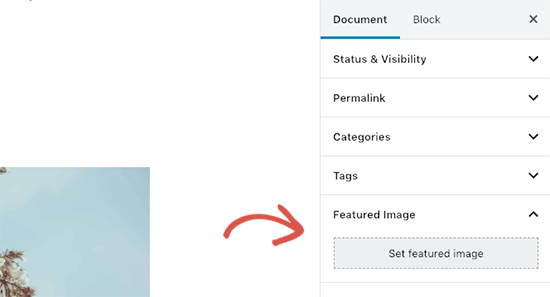
A featured image (also known as post thumbnail) is the main article image which represents the content. They may be prominently displayed on your website on single posts, blog archive pages, as well as on the homepage as lists of your latest blog posts.
Find the option to add a featured image to your post in the right column under the Document settings.
Now that you have the basics of block elements, practice.
Then watch this video for more in depth coverage of many more of the features.
